by Jackson | Apr 15, 2014 | Reviews
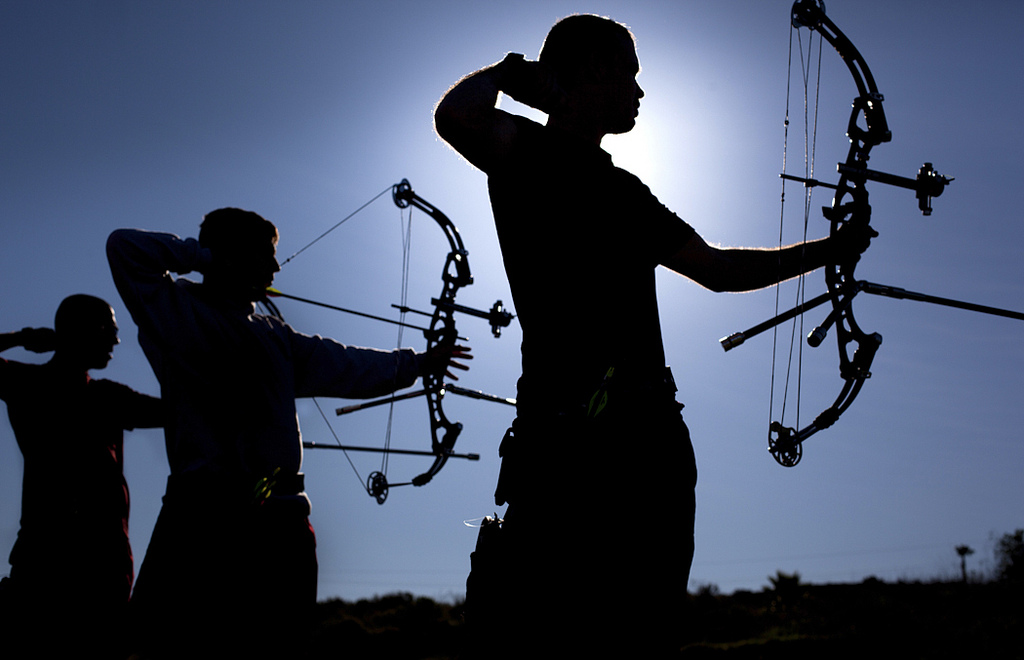
The best bow stabilizers make your life noticeably better and your shot groups much tighter. A lot of people wonder why a little bar on the front of your bow is such a big deal. I’m sure there’s some really smart people out there who can tell you all the physics of it, but a good simple answer should work fine.
A bow stabilizer helps you hold your arm steadier, it reduces the amount of movement when you loose the arrow, and it reduces vibrations and shock on the bow. All these things combine to help you shoot more accurate. That’s why you want to use the best bow stabilizer for your setup.
Be sure to see to see if your bow case has space if you want to keep your stabilizer attached to your bow at all times. Otherwise, you might have to keep taking it off every time you put your bow back in the case. Check out the best bow cases if you don’t already have one.
The best bow stabilizers
Trophy Ridge Static Stabilizer, 9-Inch, Black
– If you want to make your bow as steady as possible, then this is the one for you. An adjustable weight set allows you to fine tune things for your bow. You’ll have tighter groups and less bow shock to deal with. The size of the stabilizer is about an inch and a half longer than it says so just be aware in case you’re down to a tight squeeze to get it to fit in your bow case. Priced around $30-40, you’re getting the top of the line choice.
Limb Saver Stabilizer S-Coil Camo 4.5in
– The S-Coil is great for reducing shock and making your bow dead quiet. Though not adjustable, it will help you shoot better groupings and is a bit shorter at 4.5″ which can help if you’re in a tight space. It’s a very reasonably priced stabilizer at around $30.
New Archery Apache Stabilizer (8 Inch, Black)
– The Apache stabilizer is a great 8″ stabilizer that has a removable section to make it lighter and can be shortened down to 5″. It comes in both a camo and a black version to help blend in better with your surroundings. This is a great stabilizer to use and will definitely help you shoot better. Priced around $30-35, it’s a good deal.
Trophy Ridge Shock Stop Stabilizer Lite
– Trophy Ridge has a well deserved reputation for making great bow stabilizers and this one is no different. This one is a very good choice if you’re on a tight budget. Plus, it comes with a wrist strap so you get a free bonus. Remember this one when you’re thinking about your next stabilizer. Priced around $15-20.
LimbSaver Mini S Coil Stabilizer, Black – The shortest one of the bunch, but by no means the least. At only 3.5″ long, it will take up the least amount of space while still helping you to keep that steady arm while aiming. This mini really helps out in tight spots whether you’re in a deer blind or having to shoot targets around a tree. Priced around $18.
Helping you shoot tighter groupings all the time makes archery more fun. You’ll not only be having more fun, but it just feels great to be able to hit what you’re aiming for time after time. Stabilizers really do work and you can try shooting with them on and off your bow. You’ll be amazed at the difference you experience and this goes for experienced shooters as well.
by Jackson | Apr 7, 2014 | Archery Accessories
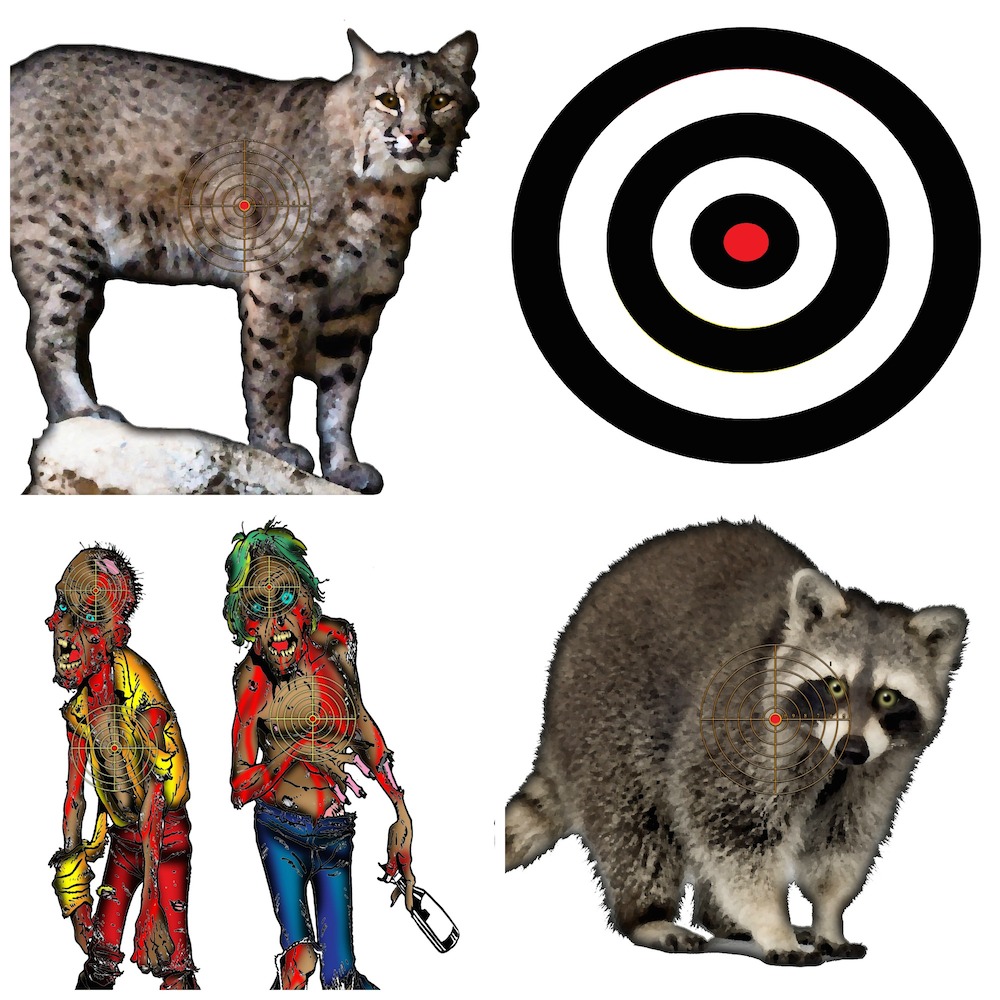
You can have a lot more fun when you get to add some variety to your shooting targets. When I started shooting at my house, I had The Block to shoot at. That was great and I was very happy and only shooting for a short time every couple of days. The excitement of shooting for the same diamond most times wore off after a couple of months and even shooting at the deer vitals on the other side was helpful, but it wasn’t enough.
Printable targets
Then I found printable targets
I wasn’t too sure about the idea of printable targets when I first heard of them, but I thought I’d take a look anyways. I’ve always been a bit skeptical so it’s just my nature. So I took a look and ever since then, I’ve actually been pretty sold on them. I need variety in what I shoot and that’s part of the reason I love 3D shooting courses. You can’t always have your own 3d shooting course so having different targets to shoot at comes in right after that.
40 Pack Animal Printable Targets
I like hunting and I needed to practice, but all I had was a block target and my backyard. These printable targets where just the ticket for getting to feel like I was hunting and being able to practice at the same time. You get 10 game animal hunting targets that are each on one page. Then, you get the same 10 animal targets that are blown up images and can be printed off on multiple pages. It’s a great way to practice on a different shooting target while having fun. Priced at $3, you’ll be paying a few pennies per target after the first printing.
How about shooting zombies?
The other cool thing about printable targets is that you don’t have to just shoot a circle or a deer. You can get creative and have a lot more things to shoot. Take zombies for instance. With the zombie craze going on, you might as well practice shooting zombies. You’ll have a lot of fun shooting at them instead of a circle or square.
20 Pack Zombie Shooting Targets
These zombies are a lot of fun to shoot. You get to shoot them on single pages or you can print off the large image on multiple pages to make them more life-like. Priced at $3, they’re a great deal of fun since you can print them off for years to come.
Buy the 70 Pack Animal and Zombie Target Combo for only $5
So, my thoughts on printable targets is that they are very useful when you need variety, get bored easily, or need cheap targets. There’s really nothing that fits that bill besides these.
by Jackson | Apr 1, 2014 | Archery Accessories
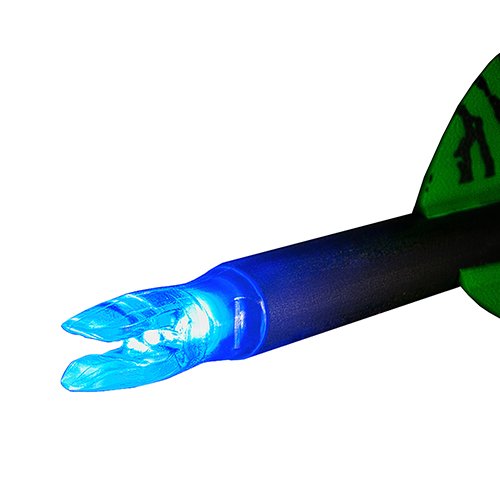
Everytime I hear people talking about different archery accessories, you’ll end up talking about using lighted nocks. Just to be sure you know, a nock is the fitting on the back-end of the arrow that the string goes into. These definitely sound cool the first time that you hear about them. Seriously, who wouldn’t want to put a light on their arrow?
Reasons to use lighted nocks
The main reason to use a lighted nock is for finding your arrow. Lighted nocks help you out by making it a lot easier to find your arrow. Lighted nocks normally come in several different colors in a 3 pack. I prefer the blue just because it’s a lot easier for me to see.
Lighted nocks are also great for training by helping you to visualize arrow trajectory. If you think your arrows shoot flat, arc too much, or wiggle excessively, then you should try using lighted nocks.
Checking shot placement. There are many people who have used lighted nocks when hunting to help make sure you made a good shot and to aid in finding the animal afterwards. I haven’t used them during hunting, but I know several who have used them successfully.
Nockturnal-X 3-pack Red – These are some really great ones to use. The red color works really well and these will stay on for a long time. Just be sure to have a pocket knife or something to turn them on or off. Priced around $25 for a pack of 3 on Amazon.
Tips on using your lighted nocks
Keep them out of your arrows. Sounds weird, but these are a bit more expensive than regular nocks so you don’t want to lose them. Keep them out of your arrows until your ready to use them. That way if you lose an arrow, you won’t accidentally lose a lighted nock.
Turn them off after you’re done using them. This is a common sense thing, but it really makes them last a long longer if you take the time to keep them turned off while you’re now using them.
Get replacement batteries. These use little batteries and they’re not that expensive to replace so go ahead and get a replacement pack when you get the lighted nocks. This way, you’ll be ready to replace them when you’re out in the field if they go out.
Lumenok GT Nock (3-Pack), Green – Check out these green lighted nocks on Amazon. These are another pretty good choice when you’re looking to try some out. Just be sure that they are the right size for your arrows. Priced around $20-25 for a pack of 3 on Amazon.

by Jackson | Mar 17, 2014 | Reviews
When you choose to go hunting, you can greatly increase your success by practicing with a life-size 3D target. Shooting 3D archery targets helps you to know the exact location you need to hit and you can try as many shots that you can think of to make your chance of a successful hunt much higher.
All that being said, 3D targets are considerably more expensive than a block target. When I joined an archery club, I was able to shoot all their 3D targets and that gave me a chance to try out several different ones and see what I liked about them. Most of these aren’t shipped in packaging so if it’s a long delivery, they can get the paint rubbed pretty good.
All the 3D targets are made from foam. They are made to be destroyed, seriously, you’re going to shoot at it until it falls apart. They are also not as strong and as big most of the time as you think. You can still have a great experience with them, they just are normally more fragile on the legs. They are only made to be shot at in the core areas, not thrown or dragged around. Take care of your target so that it lasts longer and makes the experience more enjoyable.
The best 3D archery targets
Field Logic Glendel Pre Rut Buck 3D Archery Target
– The Glendel buck is a monster. A huge, sturdy version of a 250+ pound buck. You get a big foam target that has a huge replaceable vital area. What’s neat about the vital area is that it is both removable and multi-sided. This means you can shoot several sides of the foam core before you have to replace it. There have been shipping issues so just make sure to check the contents once they arrive. Priced around $190 for the target and a replacement core costs about $45. You shouldn’t need a replacement for a long time though.
Field Logic Shooter Buck 3D Archery Target
– This is the best less expensive 3D target. For $90 you get a good smaller size deer that stands up to plenty of use and has the great feature of a replaceable vital core area. The replacement core is $30 so you can buy a few of these for the cost of the best archery targets. This is a great deer to shoot and works for most people if they just need a good deer to shoot at.
Rinehart Tom Turkey
– There’s more to hunt than deer. This tom turkey isn’t strutting around, but the size is good and with multiple angle vital markings, you can practice all the different shots you’ll need to successfully harvest a turkey. This is a good value and very helpful if you’ll be doing any small game animal hunting. Priced around $130 and worth checking out.
Delta boar target
-Shooting feral hogs and wild boars can easily be tested with this target. This Delta target is heavy-duty and definitely worth the price. It will hold up for a long time and take a lot of shots. There are no replaceable parts, but it will hold up to plenty of shooting. Priced around $450, it will be a good investment.
Mckenzie 20125 Aim-Rite Bear
– This is a small bear target, but it will really help you get set up for a real one. The vitals blend into the target helping you prepare for the real things. It’s a great price if you’re looking for a large target and not animal specific. The “self-healing” foam helps the target look nicer for a longer time. Priced around $180, it’s a great value, plus it has a replaceable insert if you need it.
Shooting a 3D target is a huge benefit and definitely worth looking into. If you don’t try them for hunting, you will definitely see them in many archery competitions.
by Jackson | Mar 10, 2014 | Archery Education
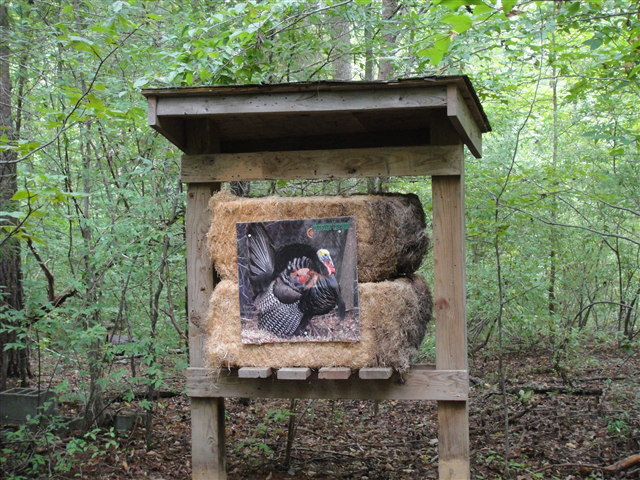
Backyard archery is any kind of shooting that you do at home. Most people shoot in their backyard so that’s why I call it backyard archery. Shooting in your backyard can be awesome. It will be as much fun as you want it to be. Let me share some tips to make your backyard archery range the best it can be.
Shoot down on the target
Most people have a flat backyard. The number one thing that will make your shooting experience better no matter where you are or what you do is to shoot down. Missing the target means you can lose your arrow and it can go really far if you don’t have a proper backstop. A fence is not a proper backstop. If you can elevate yourself as little as 1 or 2 feet, your arrows will bury in the ground faster and that means a lot less time looking, damaged arrows, and damaged fences.
Shoot with a buddy
Shooting with a friend is always more fun. You can hang out, play shooting games, and more. Sometimes it can take a while to find someone to shoot with near you, but over time I found a few people who liked to hang out and shooting at home was easier than loading stuff into the car and driving to the archery range.
Make a game of skill
Archery is a sport of accuracy, which is why it also pairs with darts. Any kind of dart game that you know of can be transferred to archery. You might not have a dart board, but you do have a target and if you print off some numbers or put some playing cards on the target, then you have a game. It can be more fun and feel less like your practicing sometimes.
Shoot from different positions
Most people spend all year shooting from a standing position, then when they go hunting, they shoot from a sitting position. You want to be sure and practice the way you will be shooting. If you’re at a competition and you shoot from standing, then practice that. If, however, you’re going to be bow hunting from a tree stand, then you really want to practice shooting from an elevated sitting position. If you want to stalk game, then practice shooting from a kneeling position and through bushes or tree branches if you can.
You only get one shot
In both a competition and hunting, you only get one shot (normally). If you only give yourself one shot to hit your target before shooting from a different spot, you’ll recreate some of the importance and training to help you shoot better.
After you take your shot, go retrieve your arrow and walk to a different spot. Somewhere that’s at least a few feet different from your last shot. You not only get a little more variety, but you also train for the fact that you don’t ever have the same shot setup
I hope that these tips will help you to have more fun in the backyard. It’s convenient so most people spend some time shooting, but they run out of ideas and don’t know what to do and that normally means that you quit shooting. We don’t want that, nope, you need to have fun so I help this helps you have more fun shooting your bow.

– The shortest one of the bunch, but by no means the least. At only 3.5″ long, it will take up the least amount of space while still helping you to keep that steady arm while aiming. This mini really helps out in tight spots whether you’re in a deer blind or having to shoot targets around a tree. Priced around $18.


